

how to fix bathroom sink stopper

Do You Need To Know How To Remove The Stopper In You Bathroom Sink
Is your sink not draining as it did before or have a noticeable odor? If you have a slow drain or odor coming from your sink the most likely cause can be a clogged up stopper in your bathroom sink. What is the stopper? It is the round piece in the center of the drain which you move up or down to allow for water to drain or not drain.
Contents
- 1 Do You Need To Know How To Remove The Stopper In You Bathroom Sink
- 1.1 Easy Step-By-Step – Remove Stopper From Bathroom Sink
- 1.1.1 Step 1 – Find the Stopper And Attempt To Remove By Hand
- 1.1.2 Step 2 – Clear Cabinet And Find Rod
- 1.1.3 Step 3 – Find The Sink Stopper Plunger Rod & Remove
- 1.1.4 Step 4 – Remove Bathroom Sink Stopper
- 1.1.5 Step 5 – How To Clean The Sink Stopper
- 1.1 Easy Step-By-Step – Remove Stopper From Bathroom Sink
- 2 Reassemble Everything
If your bathroom sink won't work and not draining you will need to remove the sink stopper to clean it. This can be a dirty process, however a fairly easy one.
Now we know a little more about your bathroom sink stopper let's look at the specific steps to remove and clean your bathroom sink stopper.
Easy Step-By-Step – Remove Stopper From Bathroom Sink

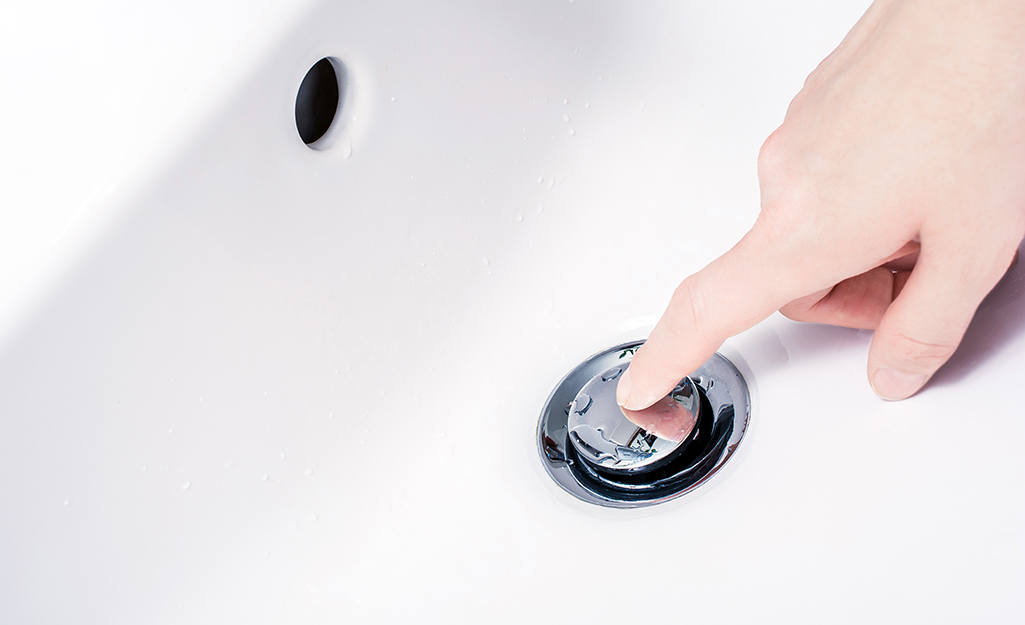
Step 1 – Find the Stopper And Attempt To Remove By Hand

Find the stopper in the middle of the drain in your sink and using both hands attempt to pull it up. If the stopper pulls out you can skip the cleaning step. However, if it won't then you will need to remove the rod to remove.

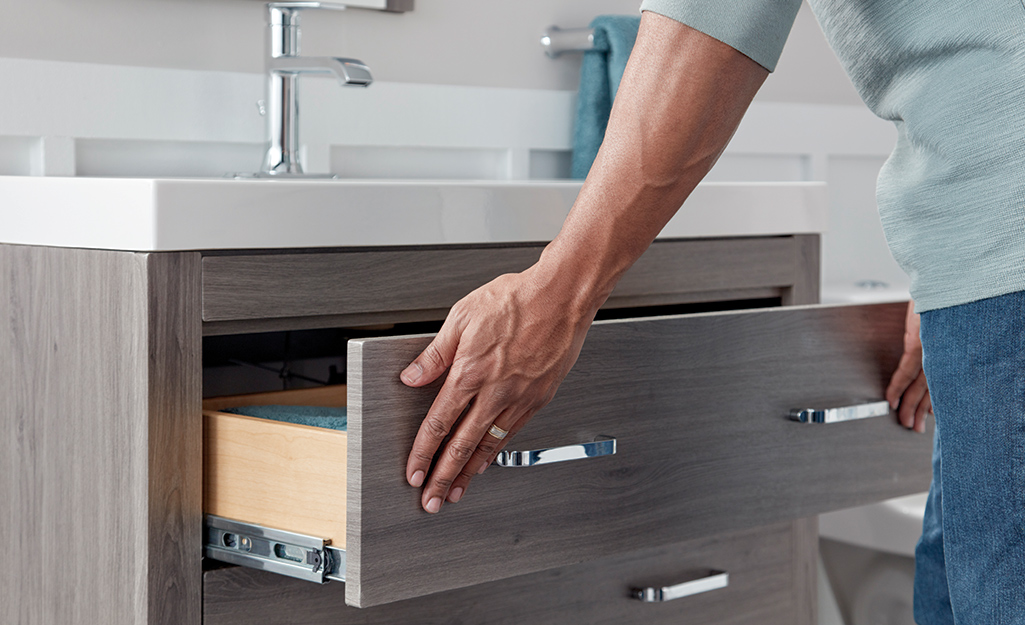
Step 2 – Clear Cabinet And Find Rod
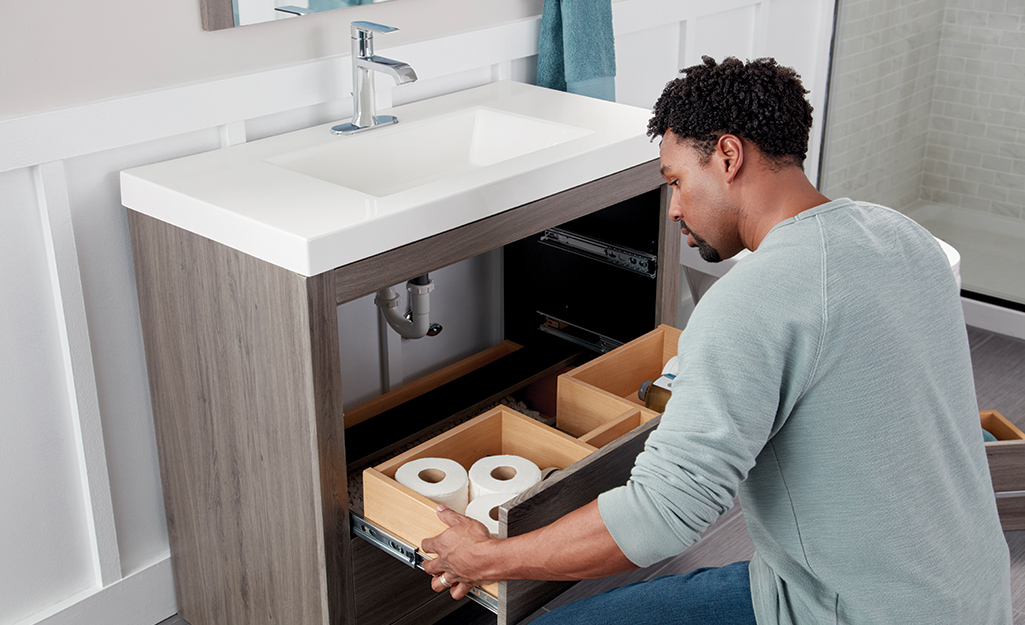
You will need to remove the items below the sink before you attempt to locate the rod holding the sink stopper. This will help you see the rod holding the sink stopper as well if water should come from the removal of the rod it will keep your items dry.
Step 3 – Find The Sink Stopper Plunger Rod & Remove

You will need to find the horizontal rod that connects to the bathroom sink stopper. The rod connects the sink stopper to the strap, which is a piece of metal with holes. Once located place a small buck directly below the vertical pipes. This is to catch any extra water which may reside in the pipe.
Remove the nut going over the rod connecting to the main drain pipe. This will allow the rod to be pulled back. Once you pull back the sink stopper can be removed.
Step 4 – Remove Bathroom Sink Stopper
With the rod removed from below the sink, you can now go to the sink stopper and pull up using your fingers. Most likely you will see the dirt, hair, and debris which is causing clog and odor.
Tip: Replace the nut with the rod back into the drain below the sink.
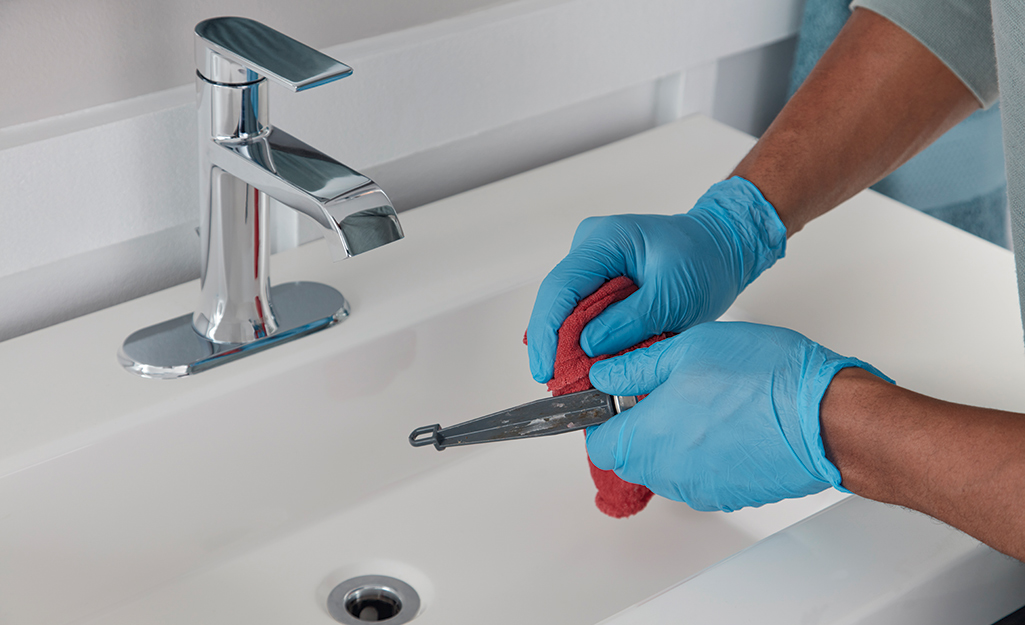
Step 5 – How To Clean The Sink Stopper
The task of cleaning the stopper includes removing the hair, dirt, and grime from the stopper to allow it to function easily and hold the water in the basin. You will want to use nitrile gloves preferably so you don't get it all over your hands.
To clean a sink stopper, you have many options.
- Grab and pull off any grime by hand.
- Using a bucket of warm water with soap or another sink run water over the sink stopper
- If needed, use vinegar or regular detergent.
- At the extreme you will need soak the stopper in a soap and water mixture for an extended period of time before cleaning with a rag.
Tip: After cleaning the sink stopper take a look into the drain with a flashlight and see if there is any other debris in the drain. You may want to use a drain cleaner or snake to clean.
Reassemble Everything
To reassemble reverse the process you did to take apart.
- Place the sink stopper back first
- Then the pivot nut. Make sure to tighten it well.
- Reattach the rod to the strap and replace the metal clip
Once assembled, run the water to test, then place everything back under the sink cabinet that was removed.
how to fix bathroom sink stopper
Source: https://howtoremovefrom.com/how-to-remove-stopper-from-bathroom-sink/
Posted by: pittmanhavess82.blogspot.com
0 Response to "how to fix bathroom sink stopper"
Post a Comment